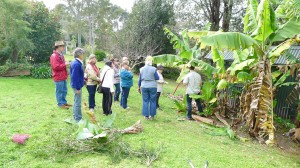
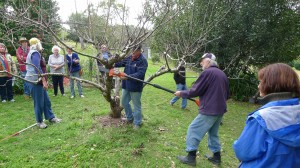
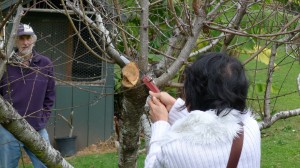
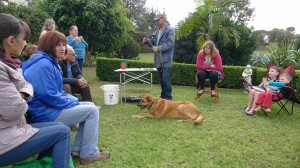
On a cold winter Sunday, a group of motivated permaculturists gathered at Bob & Helen’s place to learn how to prune fruit trees and how to propagate them from cuttings. Steve, who has been trained in horticulture, was our main instructor for the day.
I’ve summarised here what we’ve done. This is by no mean a horticulture treaty, just notes from this workshop.
Bananas
Each tree (grandmother) should have 2 suckers at most:
- 1 large sucker (daughter) to replace the tree once it has produced a bunch and has been cut.
- 1 younger sucker (grand-daughter) for the following generation.
Un-necessary suckers should be removed. If you remove a sucker with a spade and it has some roots left, then it can be re-planted somewhere else.
Old leaves should be pruned.
Drop the pruned suckers and leaves around the bananas trees because they contain water and nutrients.
Stone fruits
Fertiliser: Steve recommends rock dust. Apply 1 small handful per square meter, within the drip line, once a year. This brand can be sourced from Morisset. Bob also has some small bags for sale.
Pest and disease control:
- Steve recommends painting the bottom of the trunk in lime sulphur repel insects.
- Copper Oxychloride and Bordeaux can be sprayed to protect the tree from fungus. They’re considered an organic treatments.
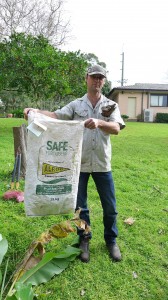
- Wrap fruits in bags to protect them from fruit fly, coddling moth and birds.
- Cover the tree with bird netting to keep birds and fruit bats out.
What to prune:
- Dead branches
- Diseased branches
- Branches growing inwards
- Branches growing straight up
- Branches crossing others
- Suckers below the graft point.
Various tools for pruning:
- Secateurs and clippers for small branches
- Hand saw and pole saw (manual or electric) for larger branches
- Chainsaw for very large branches
How to prune:
- Make sure the last bud is double or triple, which is likely to be a fruit.
- For the pruning angle and branch removal procedure see this website: https://www.dlsweb.rmit.edu.au/toolbox/hort/tools/bookcase/botany/basic_pruning.html
Citrus
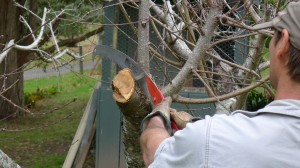
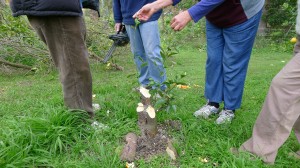
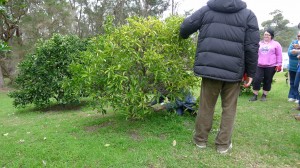
This tree used to be lush and produce a lot of mandarins. Steve noticed that it had borer damage in the trunk. Luckily some new branches are shooting below the damage. Bob cut the tree with the chainsaw.
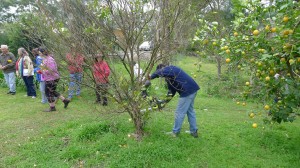
This citrus had very low branches and fruits could touch the ground (and rot). So Steve pruned the lower branches.
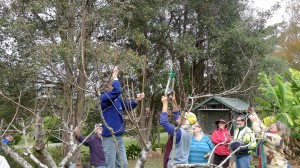
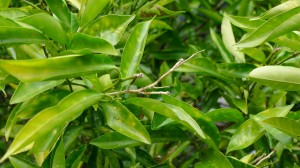
Some branches also had been damaged by something so we all took our secateurs out to remove the damaged tips.
Mulberry
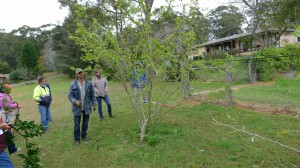
Steve reduced the height of the tree. The branches growing straight up are easy to bend and prune.
Pawpaw
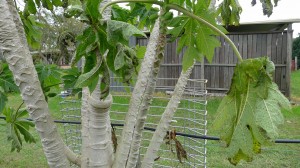
Some leaves on this old tree are curled with black dots, which indicates a virus. Steve advised that diseased leaves should be discarded or burnt, but not composted.
How to propagate from cuttings
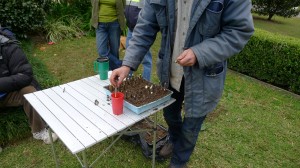
- Fill a container with seed raising mix. You can buy the mix from a nursery or make your own by mixing top soil with sand.
- Use a stick to make holes for the cuttings.
- Branches should be hard wood the size of a pencil. We cut some branches from a local fig and a local white mulberry.
- Cut the branches into small sticks. Each stick needs to have at least one bud and it needs to be planted up.
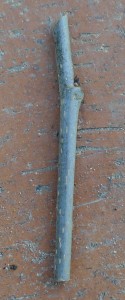
Here’s a tip to remember which side is up: cut the bottom of the stick straight and the top at an angle. Example:
- Once you have all the cuttings, dip the bottom of each cutting into a root growth hormone. Honey is natural hormone (here we used honey from Bob’s hive).
- Plant the cuttings into the holes previously made in the seed raising mix. Cuttings should be planted deep but not all the way down.
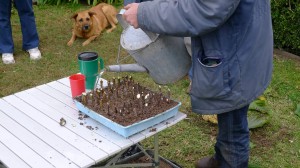
- Water the cuttings. It’s better to fit a rose on the watering can.
- Place the tray in a spot that is sheltered from the wind, e.g. under a greenhouse or inside a larger container.
- Check if roots have grown by gently wiggling a cutting. If there’s a slight resistance, then roots have grown. To confirm, take a cutting out of the tray. Then re-pot cuttings into forestry pots. Once they grow bigger, re-pot them into 6” pots. After that, they will be ready for planting in the ground.
Thank you, Bob & Helen, for your hospitality! And thank you, Steve, for sharing your knowledge!

